
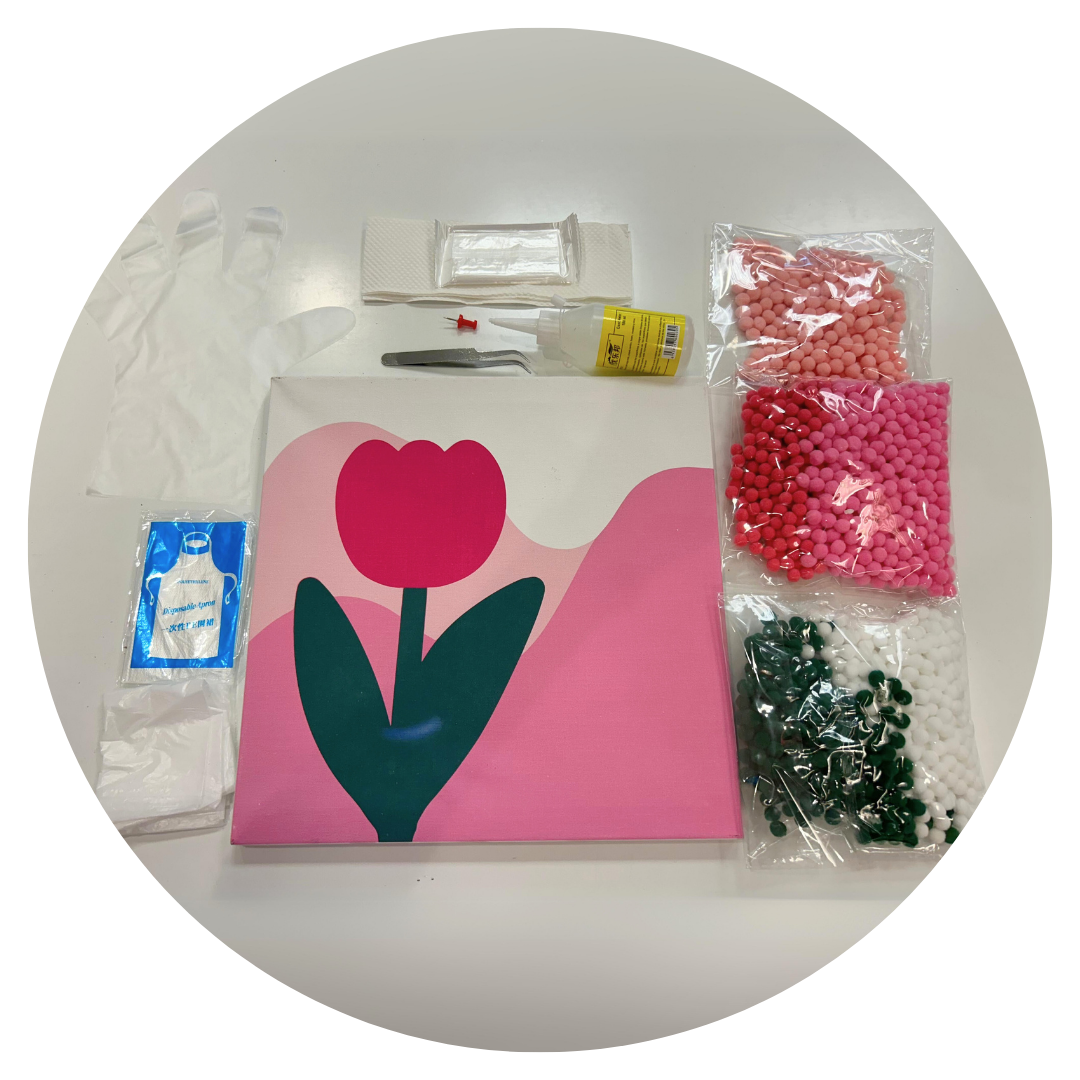
1: Gather supplies
- If your canvas doesn't come with pompoms pre-packaged, pick out which pompoms colours you would like to use for your design.
-You will also be provided with a tablecloth, apron, gloves, paper towel, and wet wipes to keep you and your space clean.
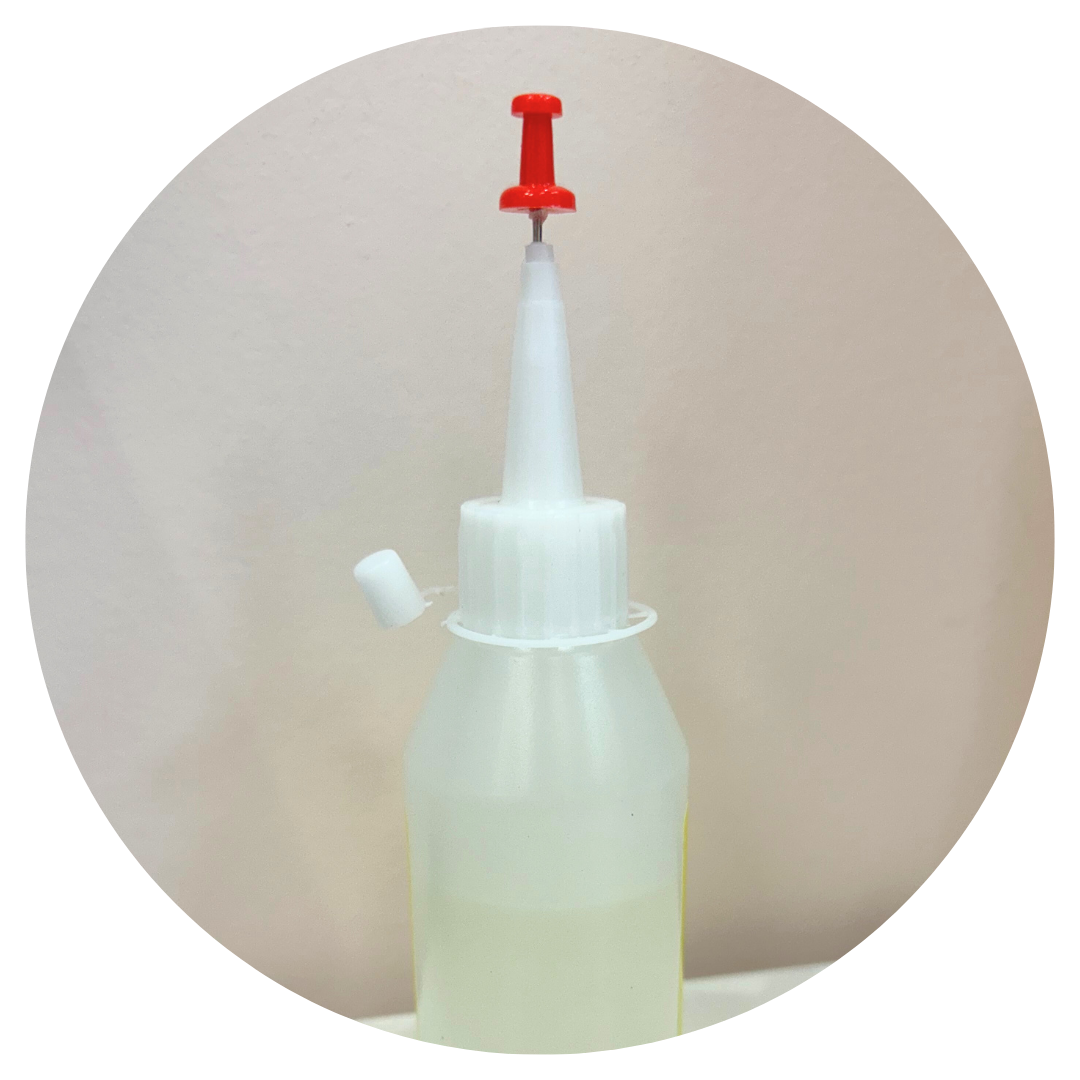
2: Prepare the glue
-Use a thumbtack to pierce a hole in the top of the nozzle
-Safety First! Ask an adult or a staff member to help if you don't know how
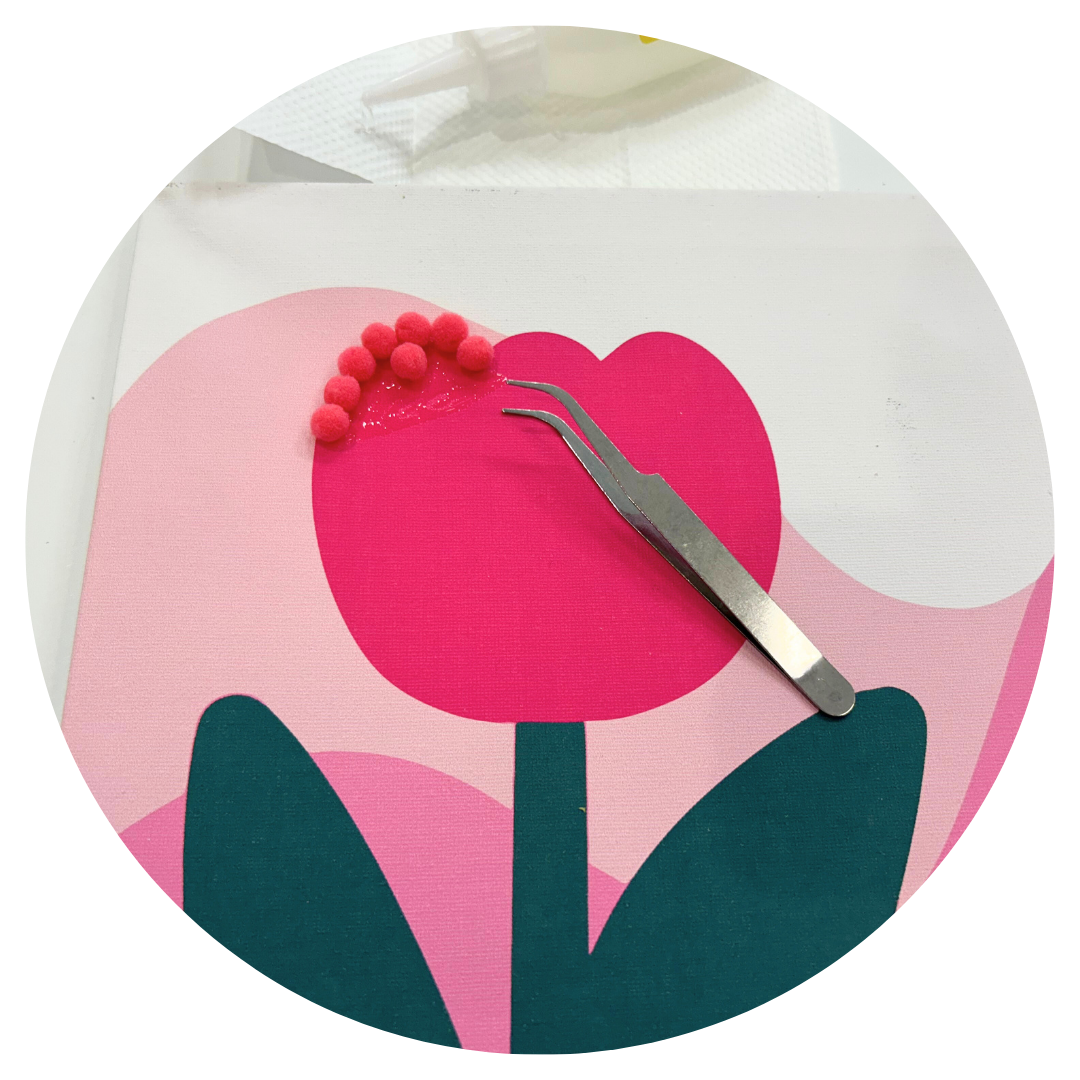
3: Start gluing
- Spread a thin layer of glue onto the canvas over a small area
- Use tweezers to place the pompoms in the glue, starting with the edges and moving inward
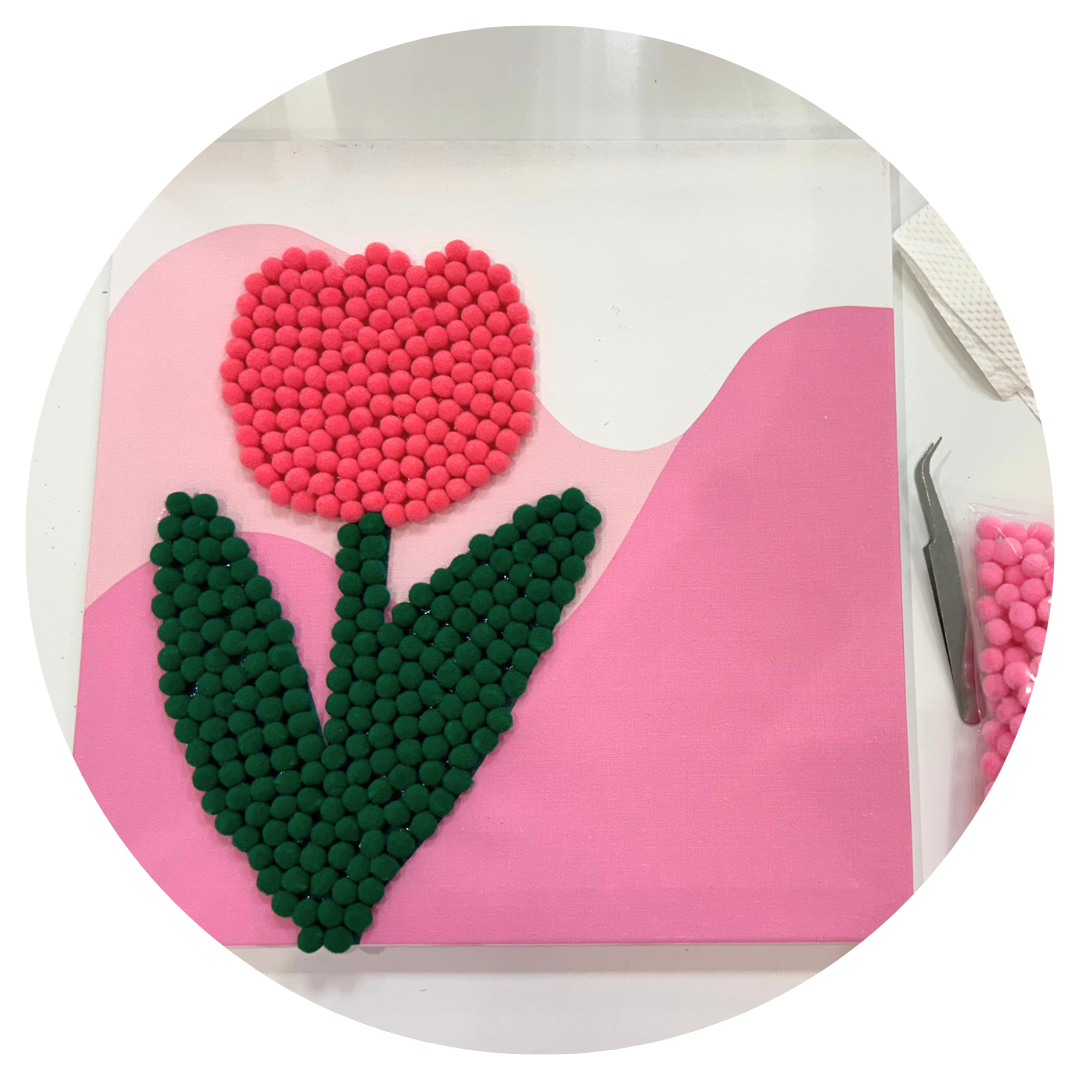
4: Keep going
- Once you've covered the main focal points of your design, you can move on to the background
-Patience is key!
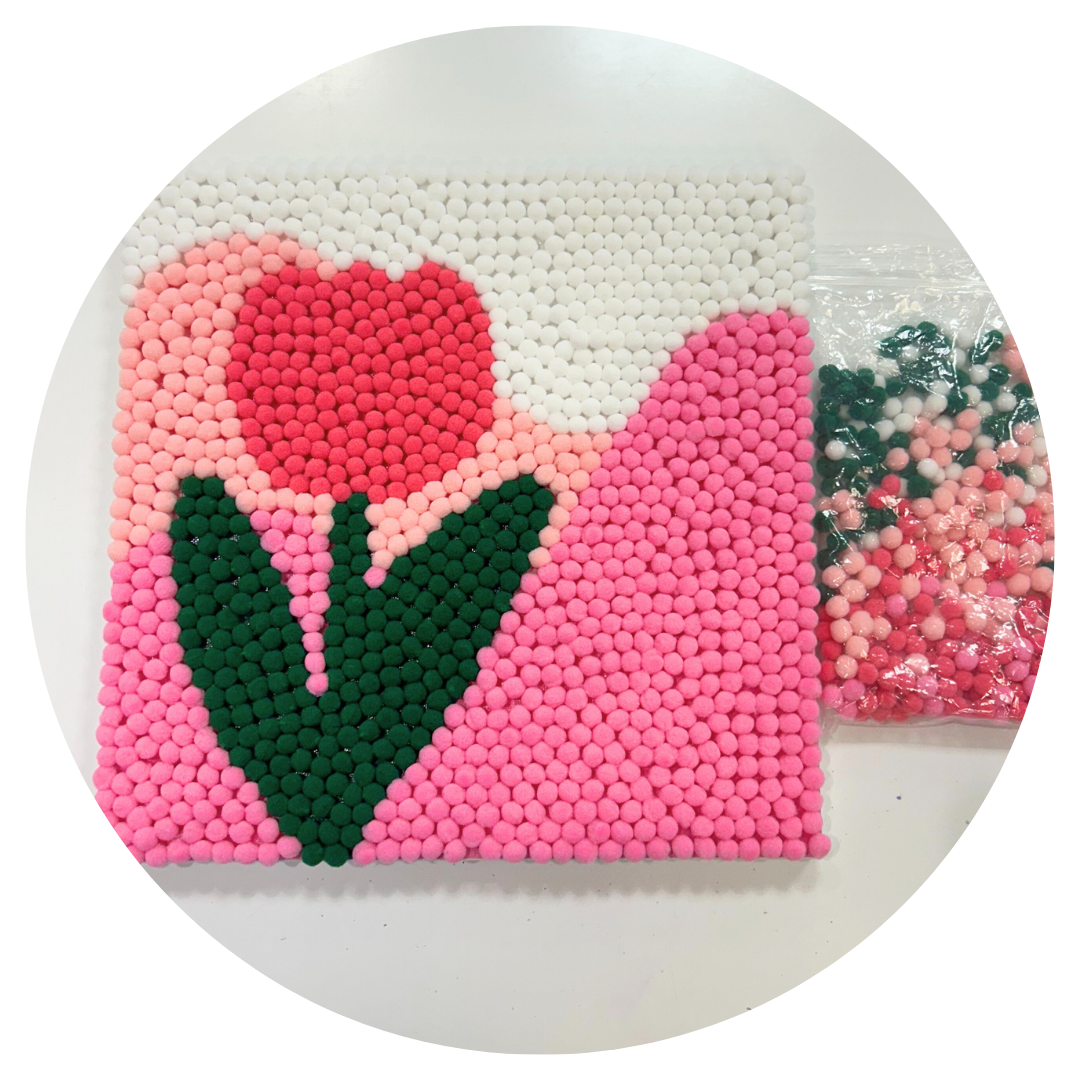
5: Let it dry
- Your design should be fully dry in under 30min
- Save leftover pompoms in a ziploc bag just in case your creation needs repair
Tips and Tricks
-Start with the outline of your design for a cleaner look
-Do the edges of your canvas first when doing the background colour
-Have a paper towel in your non-dominant hand while applying glue to quickly catch up drips to avoid glue strings trailing on top of your design
-Squish the pompoms as close together as possible, you have plenty, so don't worry about running out
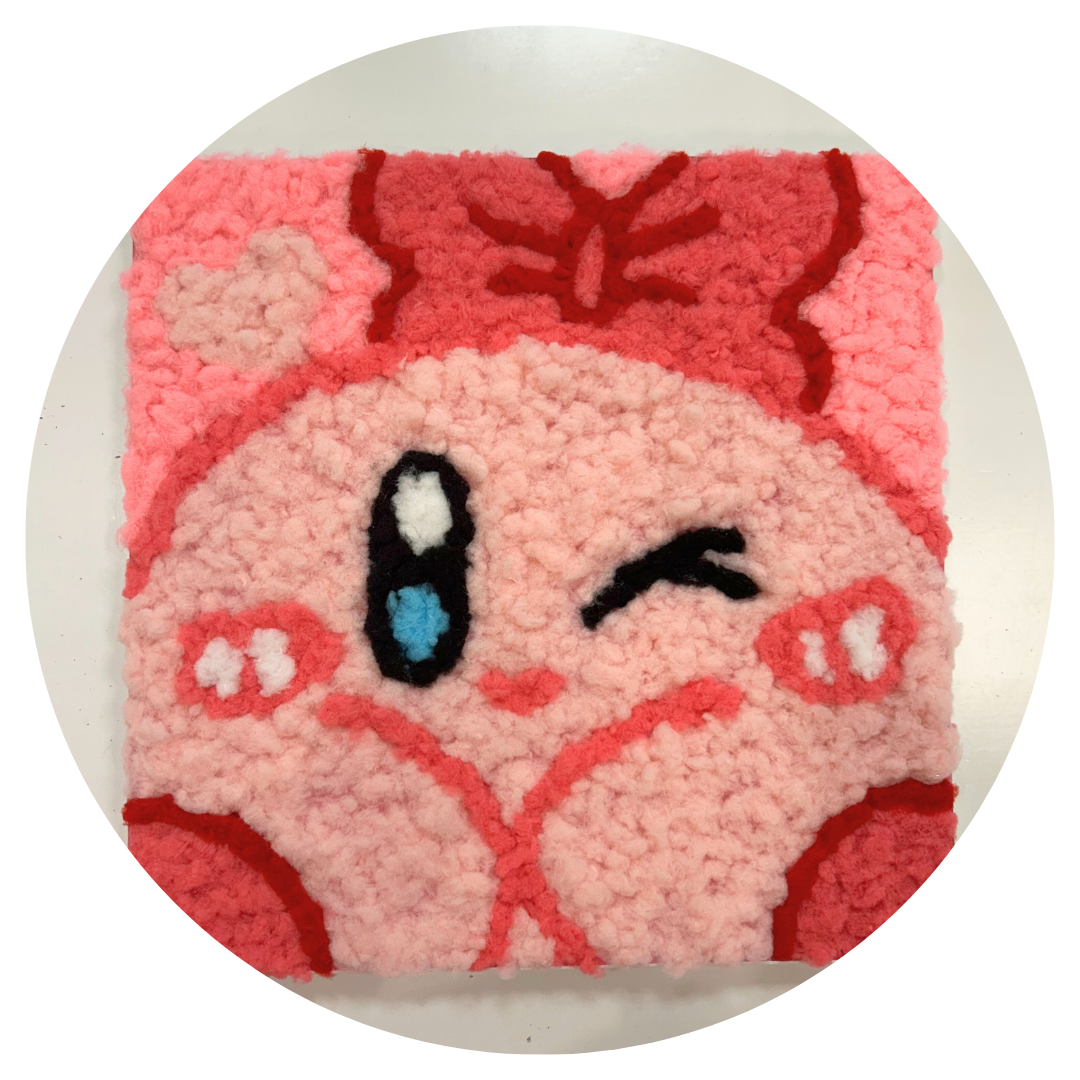
Alternative craft idea!
Cut the pompoms in half to release the string holding the fiber together and glue the fiber onto the canvas
